Room Guide
Desk Placement: Plan for Light in Autumn
As daylight decreases in autumn, you can rearrange the study nook based on the window, your child’s habits, and evening lighting. Create a more balanced study area with simple checks that reduce glare and shadows.
As the days grow shorter in autumn, the way a study desk is positioned in relation to daylight becomes more noticeable. The right study desk placement helps your child see their work surface comfortably; considering the window, screen and evening lighting together can reduce glare and distracting shadows. Keep in mind that one layout won’t suit every room: details such as the direction the window faces, the size of the room and which hand your child writes with can all affect the result.
So rather than positioning the desk once and leaving it there, take a quick look at it at different times of day. Where does the light fall on the work surface? Is the window reflected on the screen? Is the desk bright enough in the evening? Your answers to these questions are a great starting point for creating a study nook that works well throughout autumn.
First, observe how daylight moves through the room
Daylight enters the room from different angles in the morning, at midday and in the evening. As the sun’s angle and the hours of daylight change in autumn, a desk position that worked well in summer may be left in shadow or exposed to direct light during study hours. Before deciding on a layout, observe how the room is lit at the times your child studies most. As the bright area by the window shifts throughout the day, you’ll get a better sense of where the desk will receive the most balanced light.
Being close to the window isn’t always the best solution. Direct sunlight can create bright spots on a page or desk surface, while being near the window in cold weather can affect comfort. On the other hand, placing the desk in the darkest corner of the room can make it harder to benefit from daylight. The aim is to find a position where the work area gets as much even light as possible without blocking the view from or access to the window.
If there’s a noticeable difference in light at different times of day, try moving the chair and the items on the desk before relocating the desk itself. Sometimes turning a notebook, rearranging a shelf near the window or clearing unnecessary items from the work surface is enough to make better use of the light.
Find a balance between the window, desk and screen
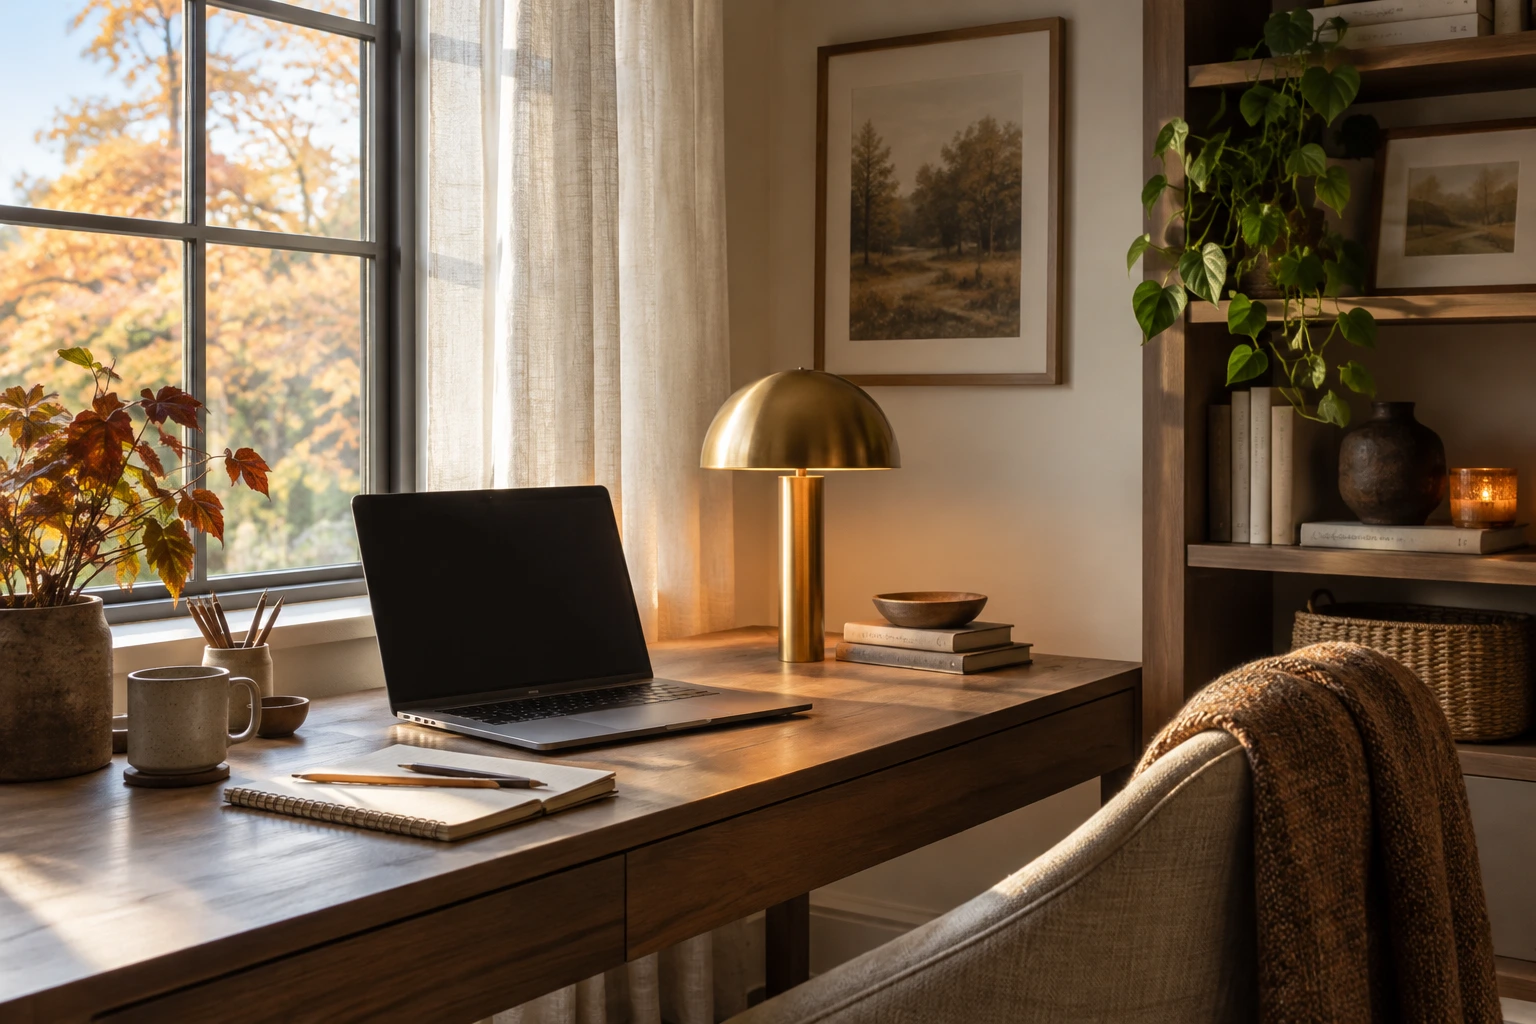
In many rooms, positioning the desk at an angle to the window can be a good starting point, rather than placing it directly opposite or with its back to the window. This lets daylight reach the work area from the side while reducing the chance of the window or bright sky reflecting on the screen. However, the direction the window faces and the time of day can change the result, so be sure to check the layout during actual use.
If your child uses a screen, check it from their normal working position when they’re seated. If the window is reflected on the screen, the content is hard to see or they have to squint, adjust the direction of the monitor or desk in small steps. Glare doesn’t only come from screens; glossy desk surfaces, glass-fronted frames and accessories that reflect light directly can also be distracting. Moving these items out of the line of sight may help.
The shadow your child’s hand casts on a notebook while writing is another practical clue when assessing the layout. If your child is right-handed, try having the light come from the left; if they’re left-handed, try the right to reduce shadows. This isn’t a requirement or a rule that applies to every room—the position of the window and the intensity of the light can lead to different results. The best direction is the one you find by watching your child write and read at the desk.
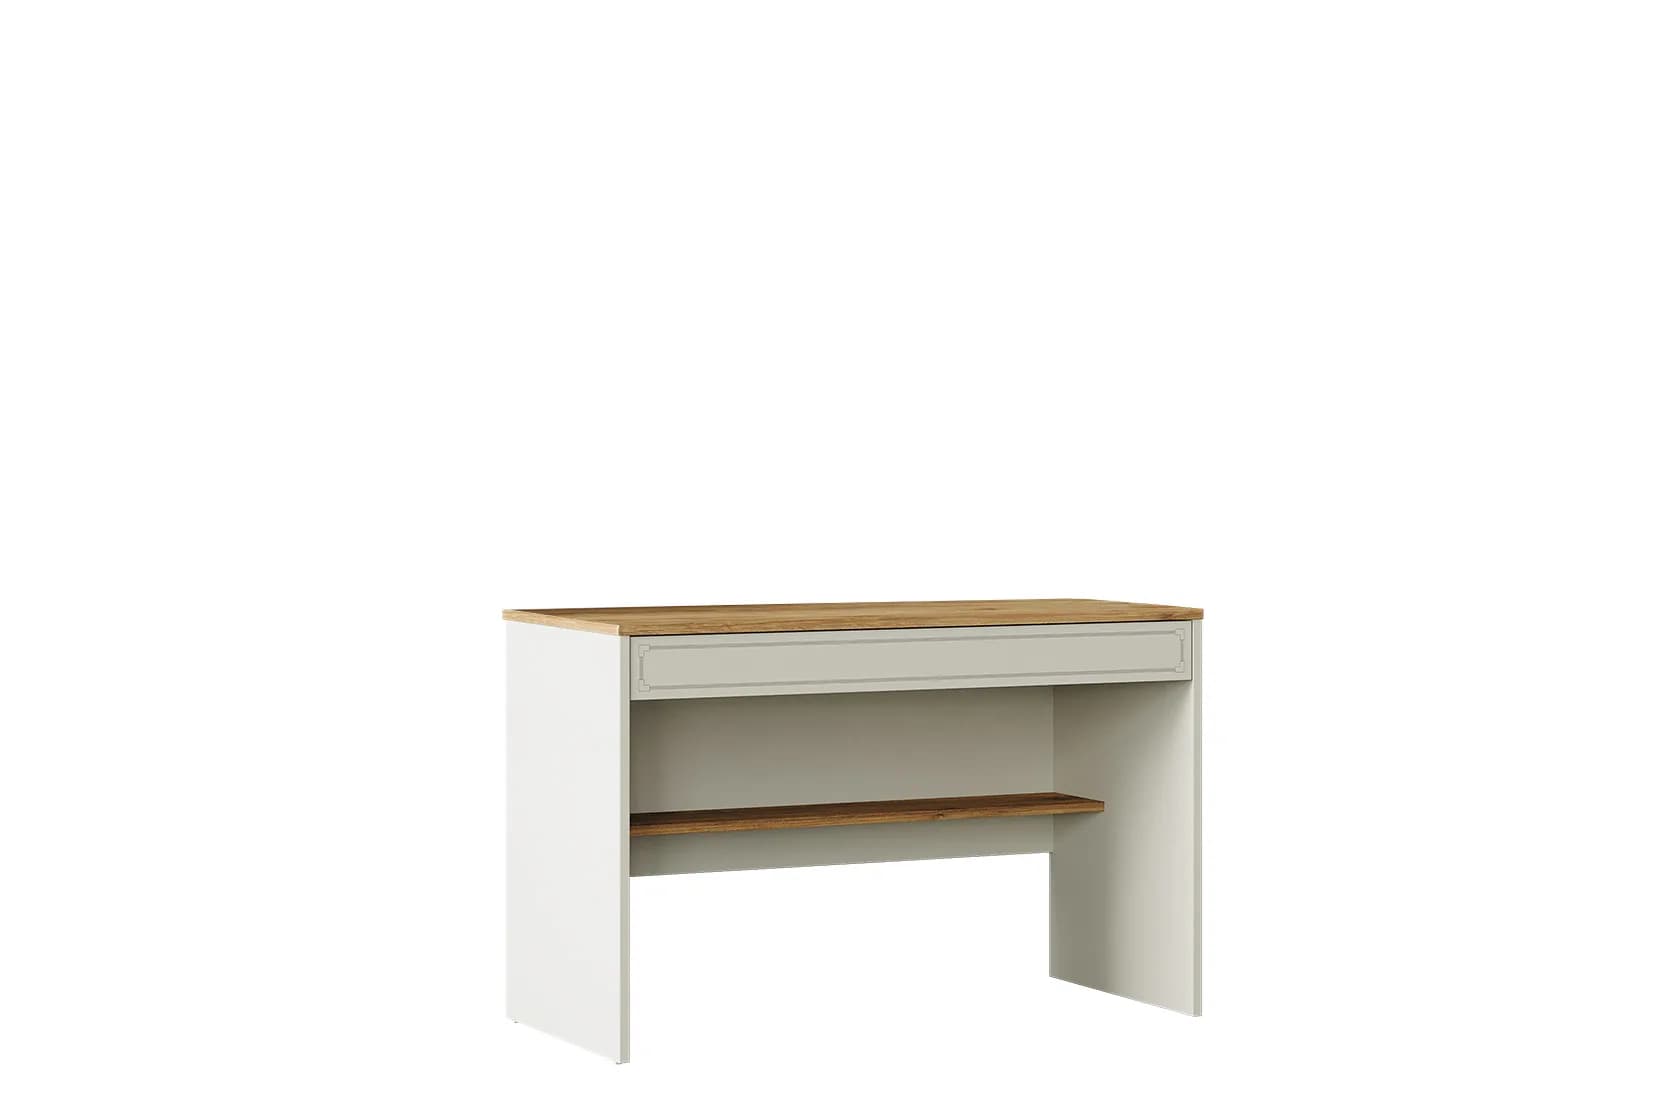
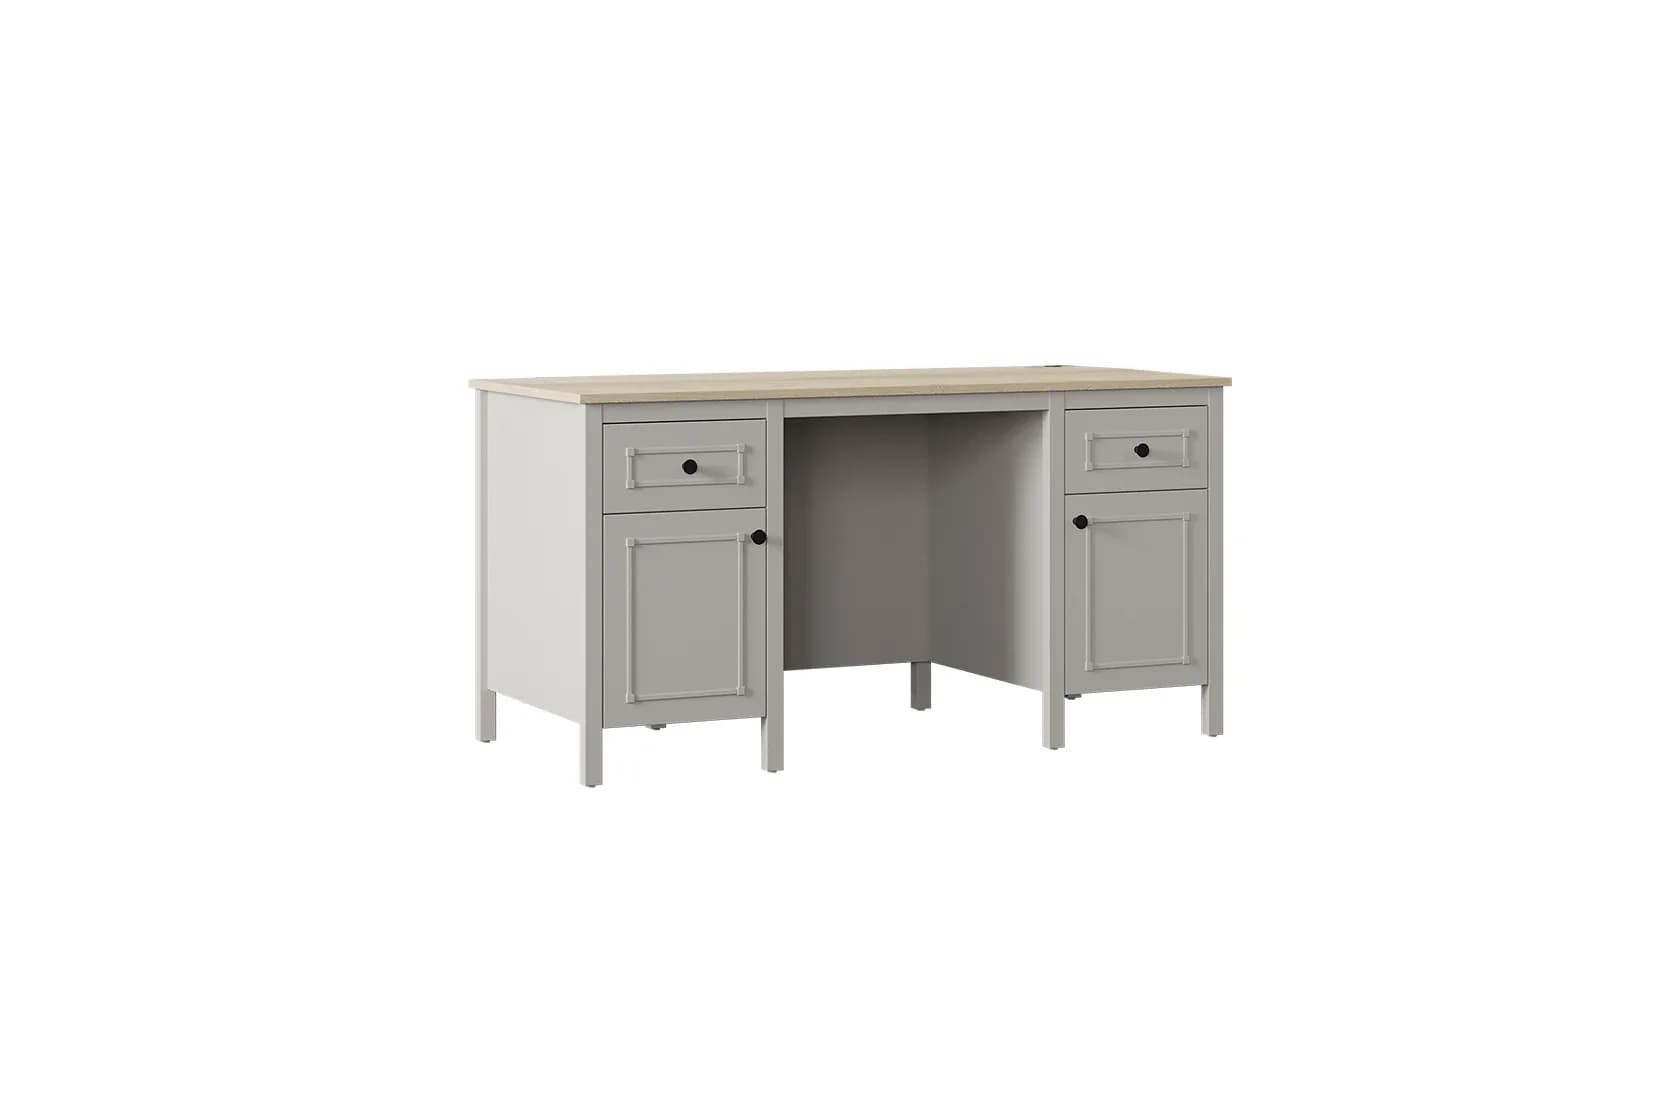
As you consider the desk and chair together based on how the space will be used, you can explore our study desk options. What matters is not only how close the desk is to the window, but also that your child can comfortably reach the work surface when seated and that the setup doesn’t feel cluttered or block the light.
Plan layered lighting for evening study
In autumn, some homework may need to be done after daylight has faded. So instead of relying only on the ceiling light, plan the room’s general lighting and task lighting for the desk together. General lighting helps prevent dark areas in the room, while a desk lamp helps illuminate study materials such as books and notebooks. Using both light sources in balance can also soften the stark contrast between a bright desk and a dark room.
Place the desk lamp on the side that reduces the shadow cast by your child’s hand as they write. The light shouldn’t shine directly into their eyes or create glare on the screen. If your child writes and uses a computer, try the lamp from different angles for both activities. A model with an adjustable head can make it easier to direct the light where it’s needed. When choosing lighting products, also consider the instructions and safe-use guidelines appropriate for your child’s age.
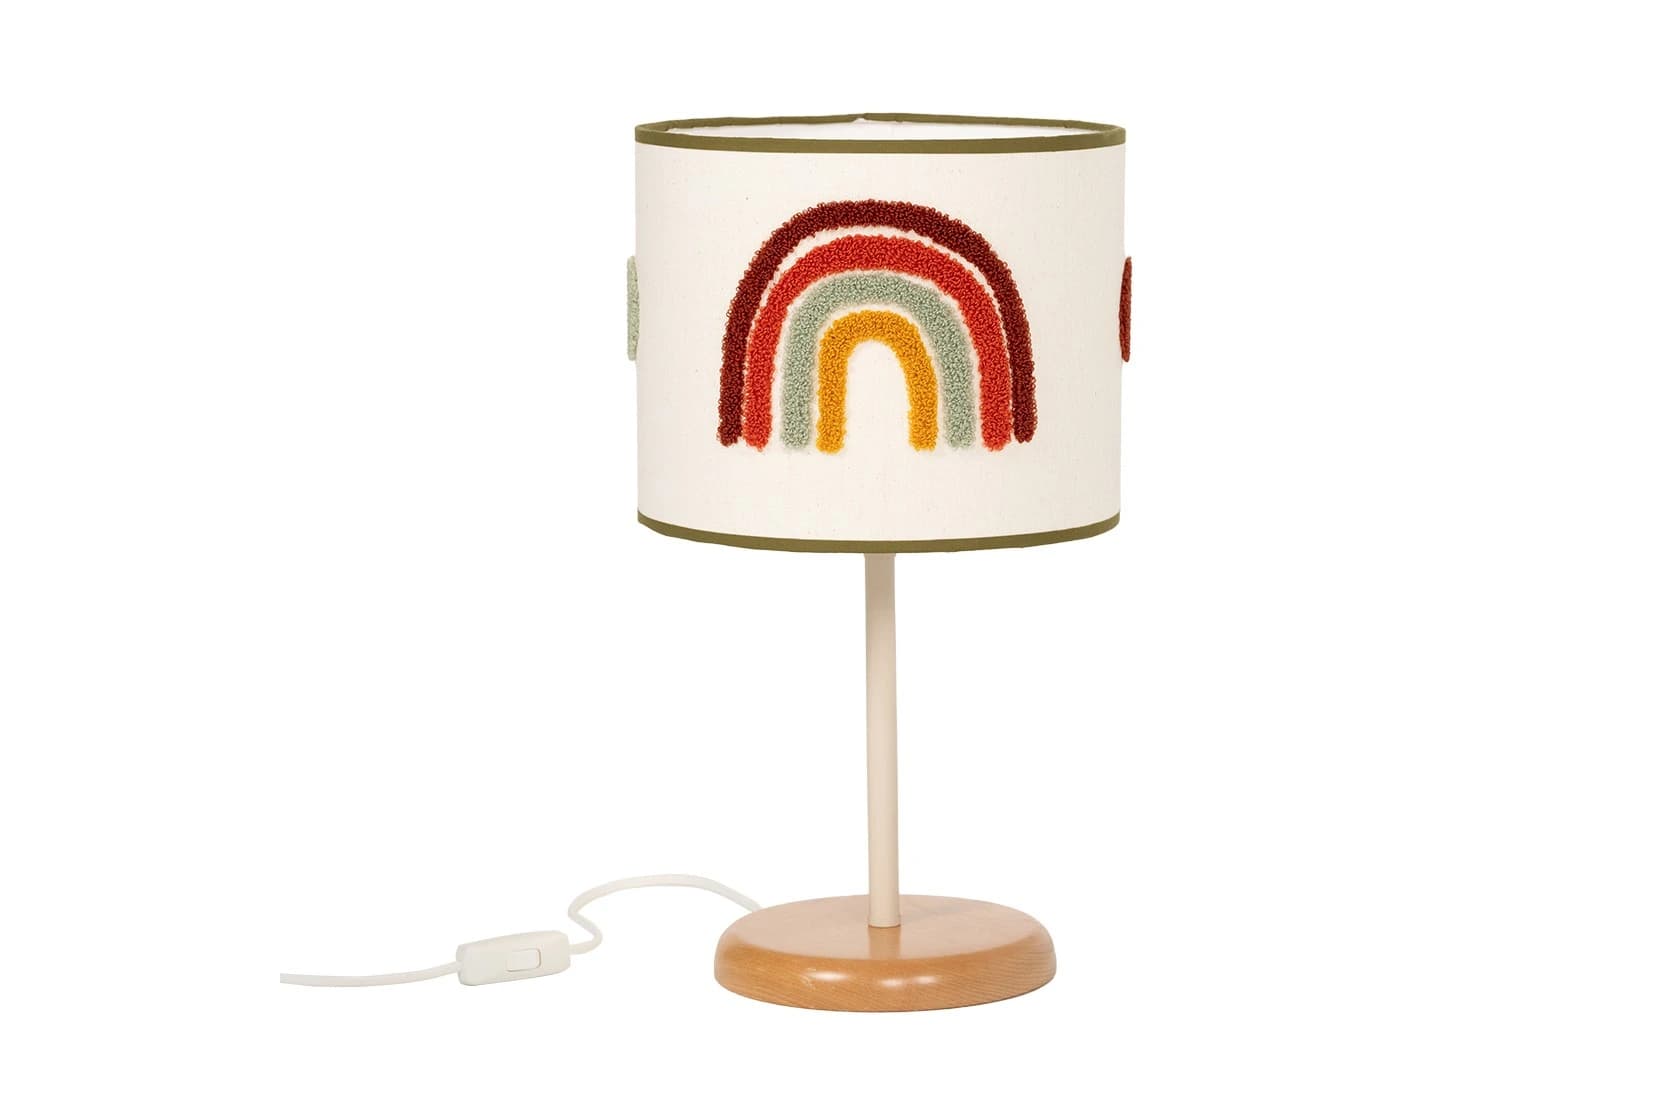
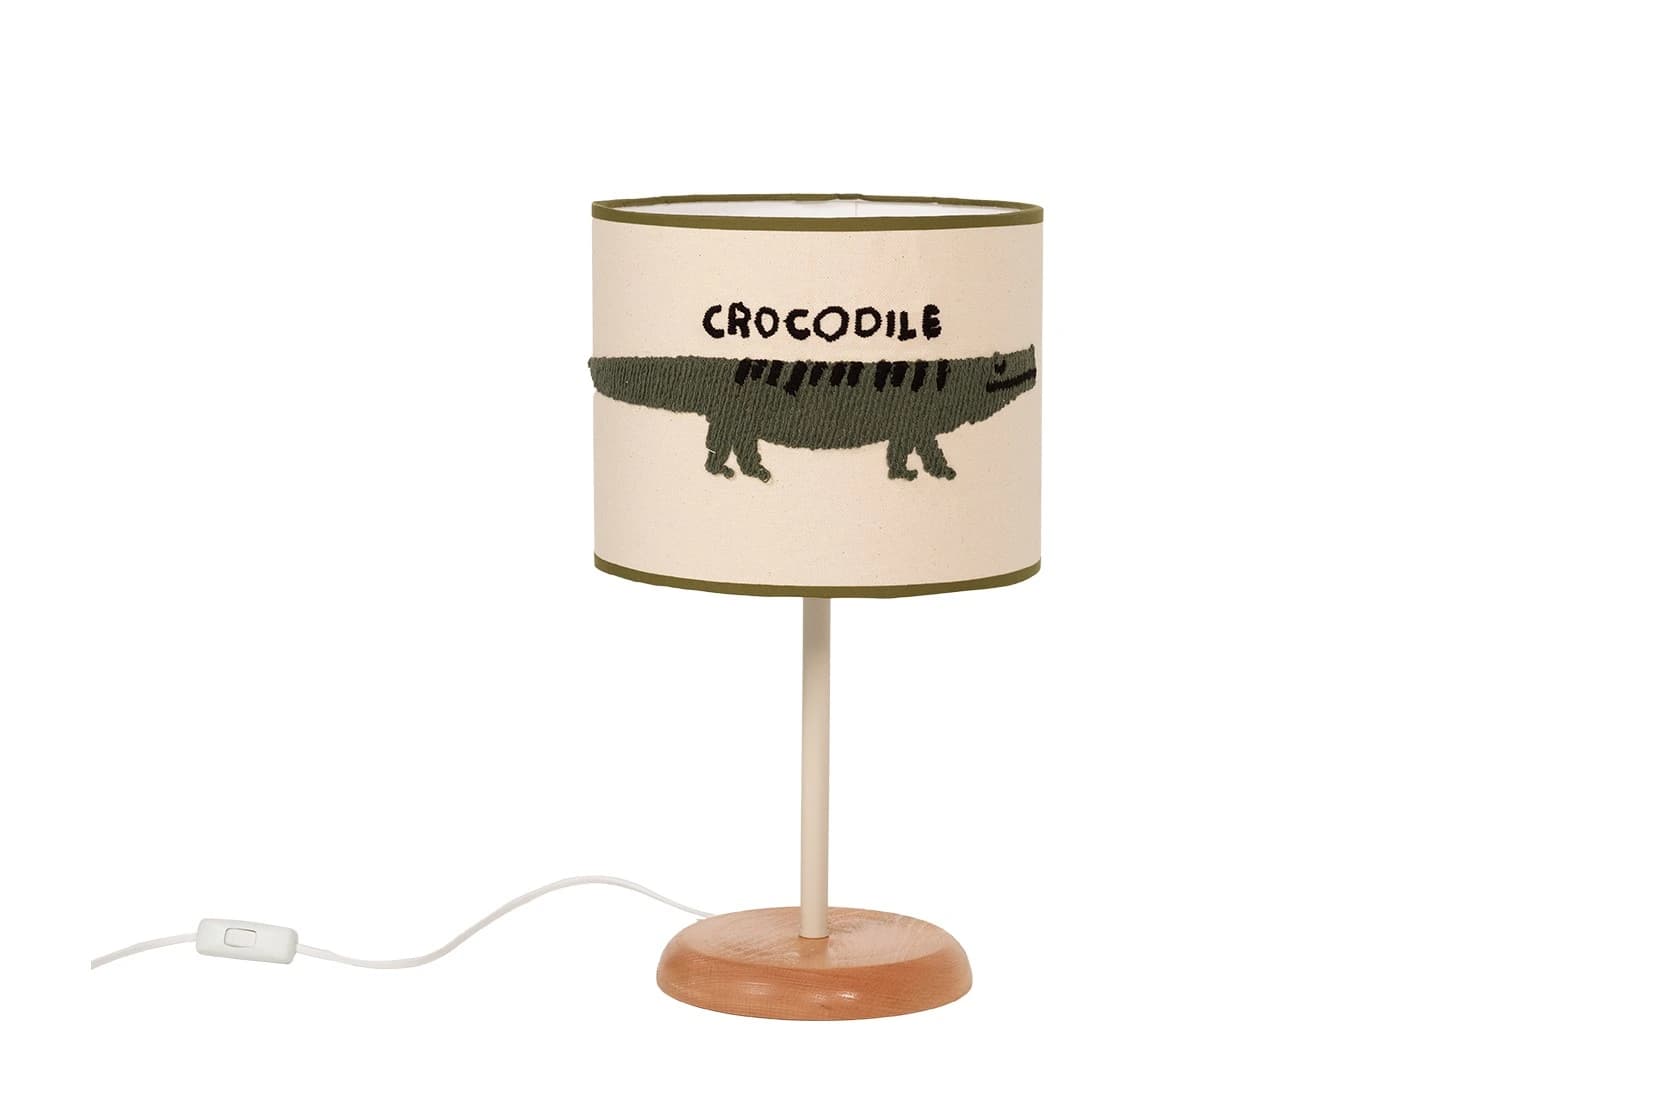
Keep in mind that people can perceive light colour and brightness differently. Does your child feel comfortable at the desk? Do they lean forward to see the page or squint at the light? These observations may indicate that you need to adjust the lamp’s position or the ambient lighting. When considering Almila’s lighting options, you can also think about how the product will be used in the study area and which way its light can be directed.
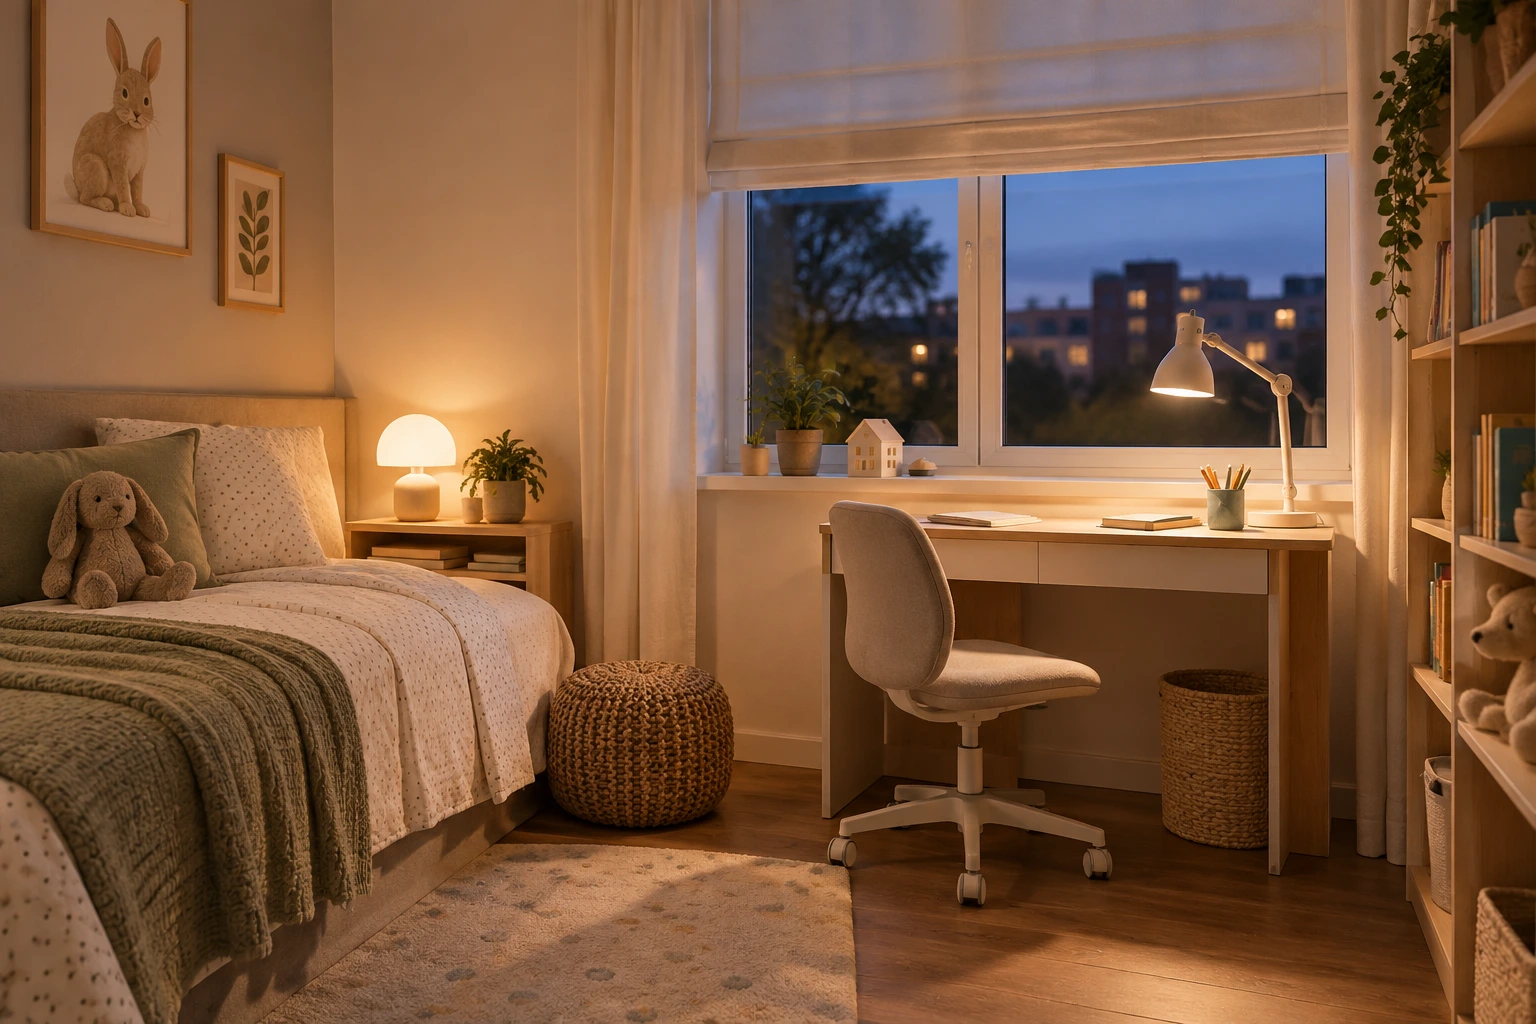
Consider light and usable space together in a small room
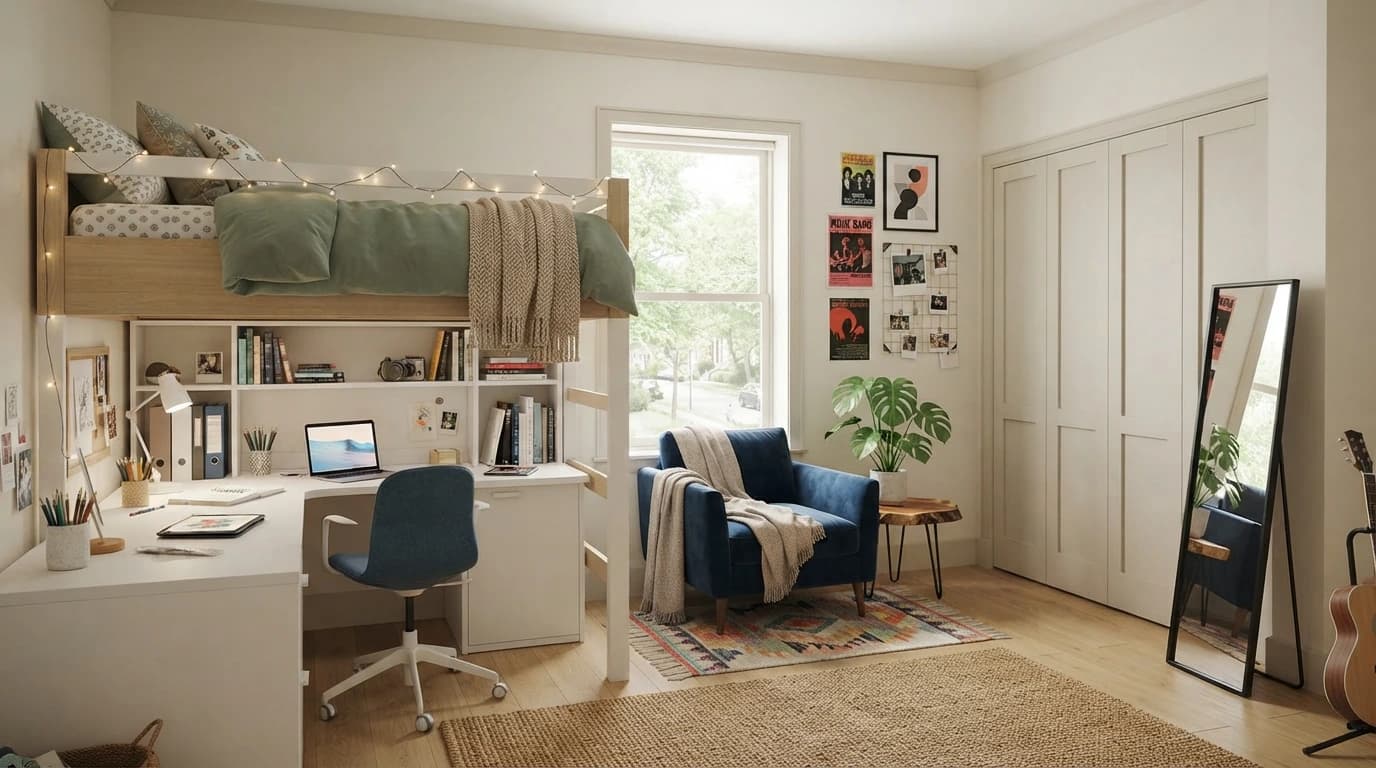
When planning a study nook in a small room, aim for a layout that keeps the space between the desk, window and storage easy to move through. Placing the desk in front of the window may not always be possible or practical. If it makes the window difficult to open, obstructs the curtains or narrows the walkway, consider positioning the desk perpendicular to the window or trying another spot near a wall.
Keeping the desk surface simple in a small space makes it easier for light to reach it. Frequently used pens, notebooks and books can stay within easy reach; storing less-used items on shelves or in drawers leaves more clear space on the work surface. When positioning shelves, take care not to block the window or prevent light from reaching the desk. Keeping cables and lighting connections away from walkways can also make the room easier to use every day.
If you’re having trouble finding a suitable spot for the desk, sketch out the room and mark the window, door, power outlets and existing furniture. Then compare possible desk positions in terms of daylight and room to move around. As you look for different layout ideas for your child’s room, explore our children’s room solutions; if the study area is being arranged for the needs of older children, you can also find inspiration in our teen room ideas.
Fine-tune the layout with a few simple checks
Once you’ve chosen a spot for the desk, try it out while your child follows their usual study routine. Rather than deciding based on an empty desk, include notebooks, books, a computer and a desk lamp. This will show you how both the light and the items they need fit into the space during study time.
- Compare morning and evening: Observe how daylight reaches the desk during study hours and whether extra lighting is needed in the evening.
- Check for reflections: From your child’s seated position, look for reflections of the window, lamp or other bright surfaces on the screen.
- Look out for shadows: Check whether their hand, arm or desk lamp casts a distracting shadow on the notebook while they write.
- Try adjusting the curtains: If the light is too direct, try different curtain positions to find a balance between brightness and glare.
- Make sure they can sit comfortably: If they need to lean forward to see better or keep turning their head, reconsider the desk and chair arrangement.
As the season progresses, daylight conditions will change, so you can revisit the setup later on. A major change isn’t necessary; adjusting the lamp, using the curtains differently or rearranging items on the work surface may be enough. With these small adjustments, focused on your child’s needs and how the room is actually used, you can create a study nook that makes the most of daylight and remains practical in the evening.
Frequently Asked Questions
Should a study desk be placed in front of the window?
There’s no one right layout for every room. Placing a desk in front of the window can increase the light, but may affect the curtains, access to the window or the view of the screen. Try the desk at different angles and check the daylight and reflections.
What can I do if the window is reflected on the screen?
First, adjust the angle of the screen or desk in small steps. Adjusting the curtains and moving bright surfaces that reflect light directly onto the screen out of the line of sight may also help.
Which side should the desk lamp go on?
Place the lamp on the side that reduces the shadow your child’s hand casts on the notebook while writing. Try positioning it based on whether they’re right- or left-handed, and check that the light doesn’t shine into their eyes or create glare on the screen.
How can I keep a study nook bright in a small room?
Keep the desk surface clear and try a layout that doesn’t block the window. In the evening, supplement the room’s general lighting with a desk lamp and make sure shelves don’t prevent light from reaching the work surface.