Furniture Guide
How to Choose a Bed Base Headboard? How to Attach and Remove Bed Base Headboards
Learn how to attach and remove a bed headboard, step by step. Visit our page to add an elegant touch to your bedroom!

The bedroom is one of the most important spaces in our home—a place to rest and find peace. That’s why its decor and layout are among the factors that affect our overall quality of life. A bed base headboard adds an elegant touch to the bedroom, while also providing comfort and support. However, if you have purchased a new bed base headboard or want to replace your existing one, it’s important to know how to attach and remove it. In this article, we’ll cover changing a bed base headboard, how to choose one, how to attach and remove it, and what to keep in mind during installation and removal.
How to Choose a Bed Base Headboard
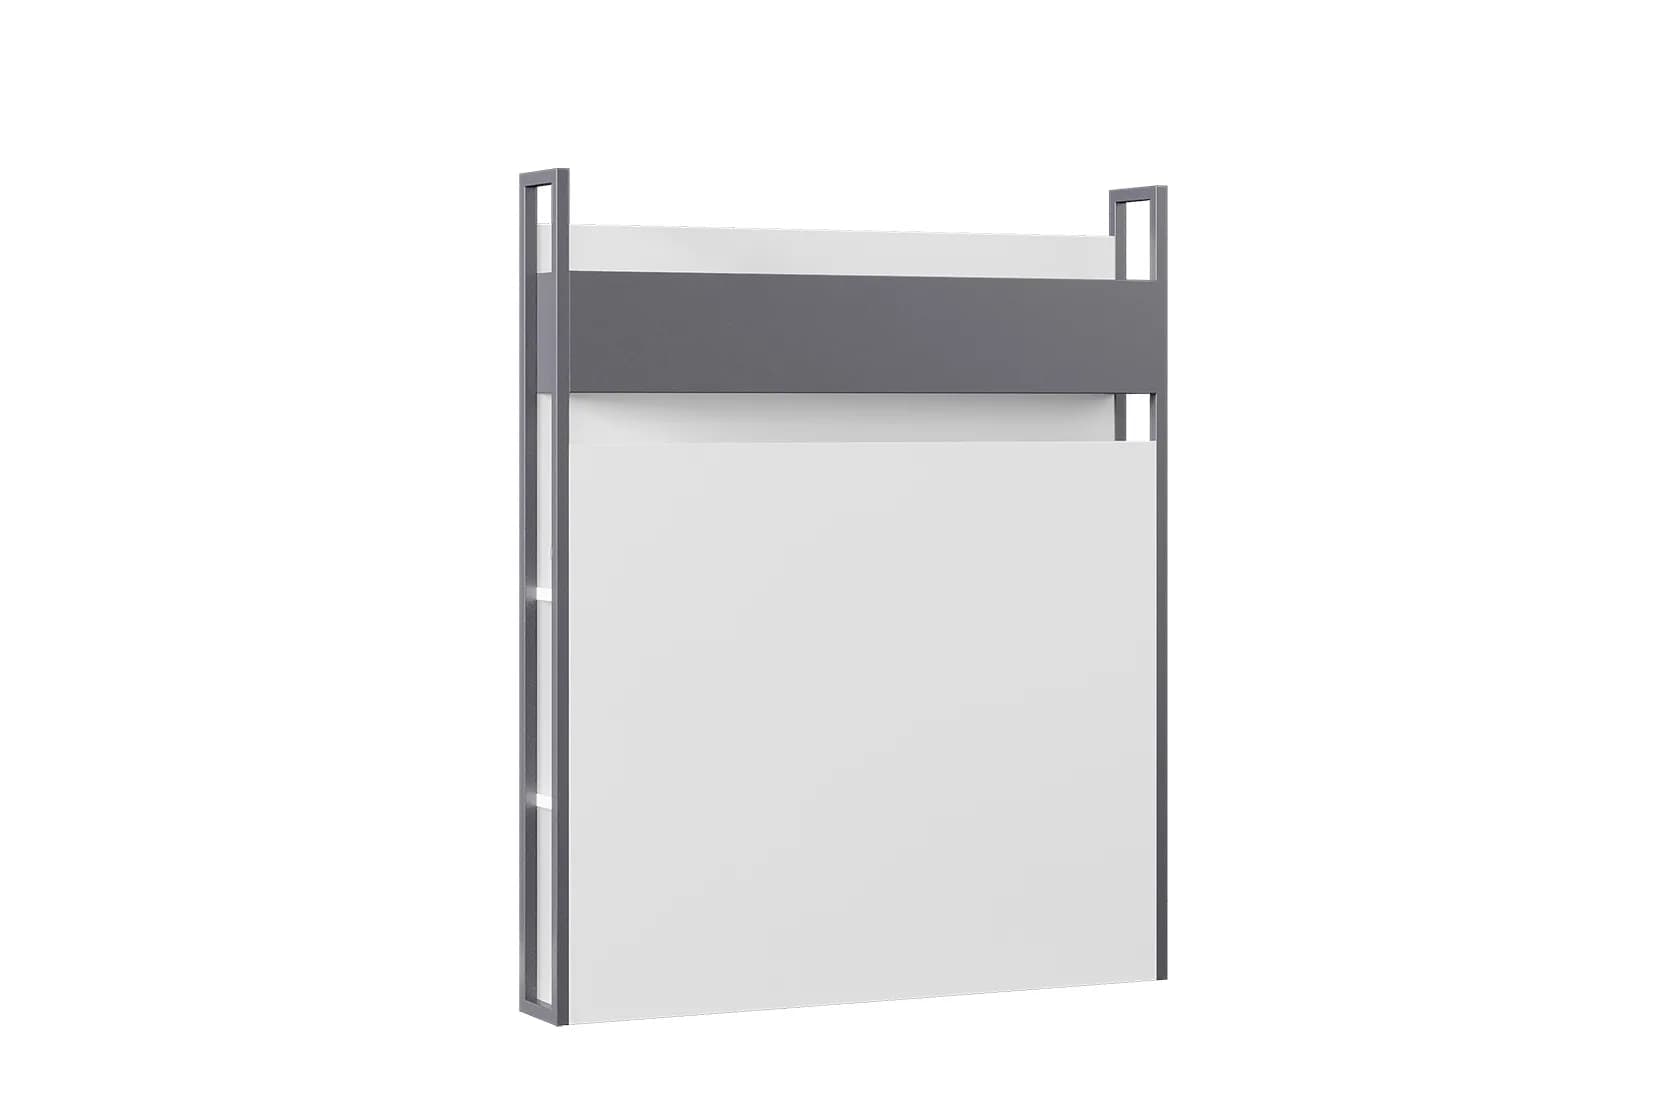
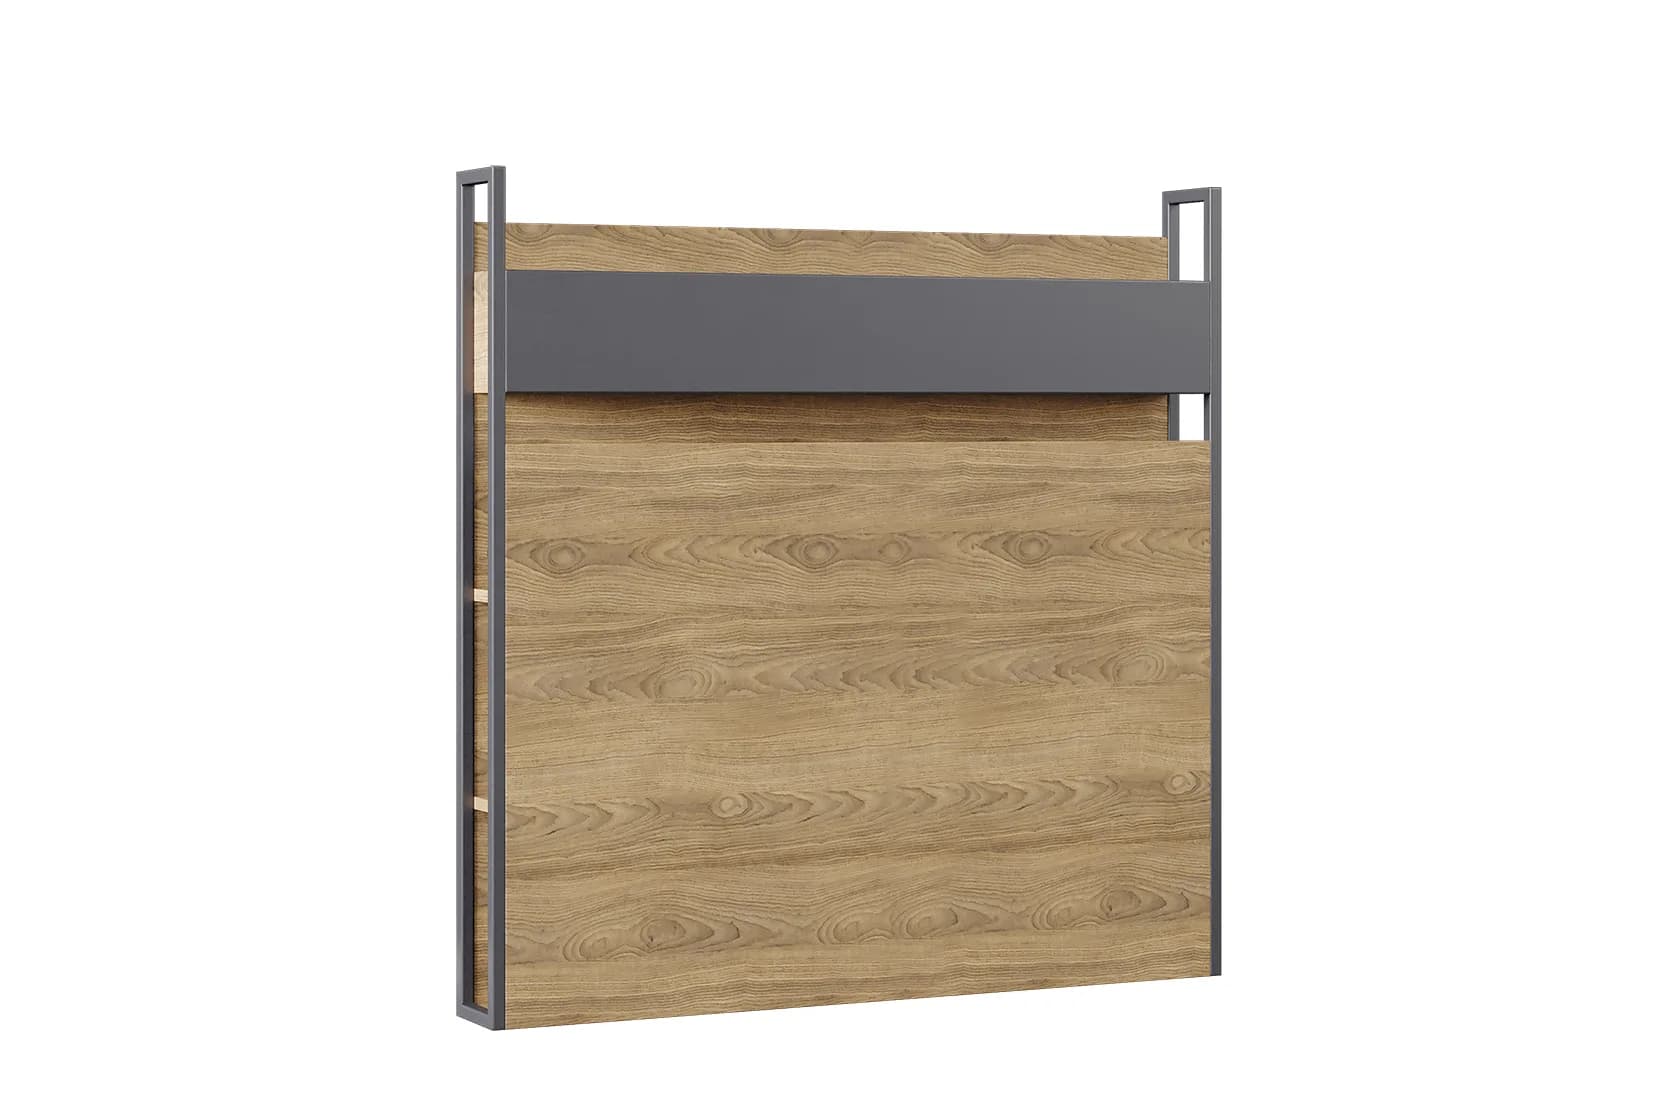
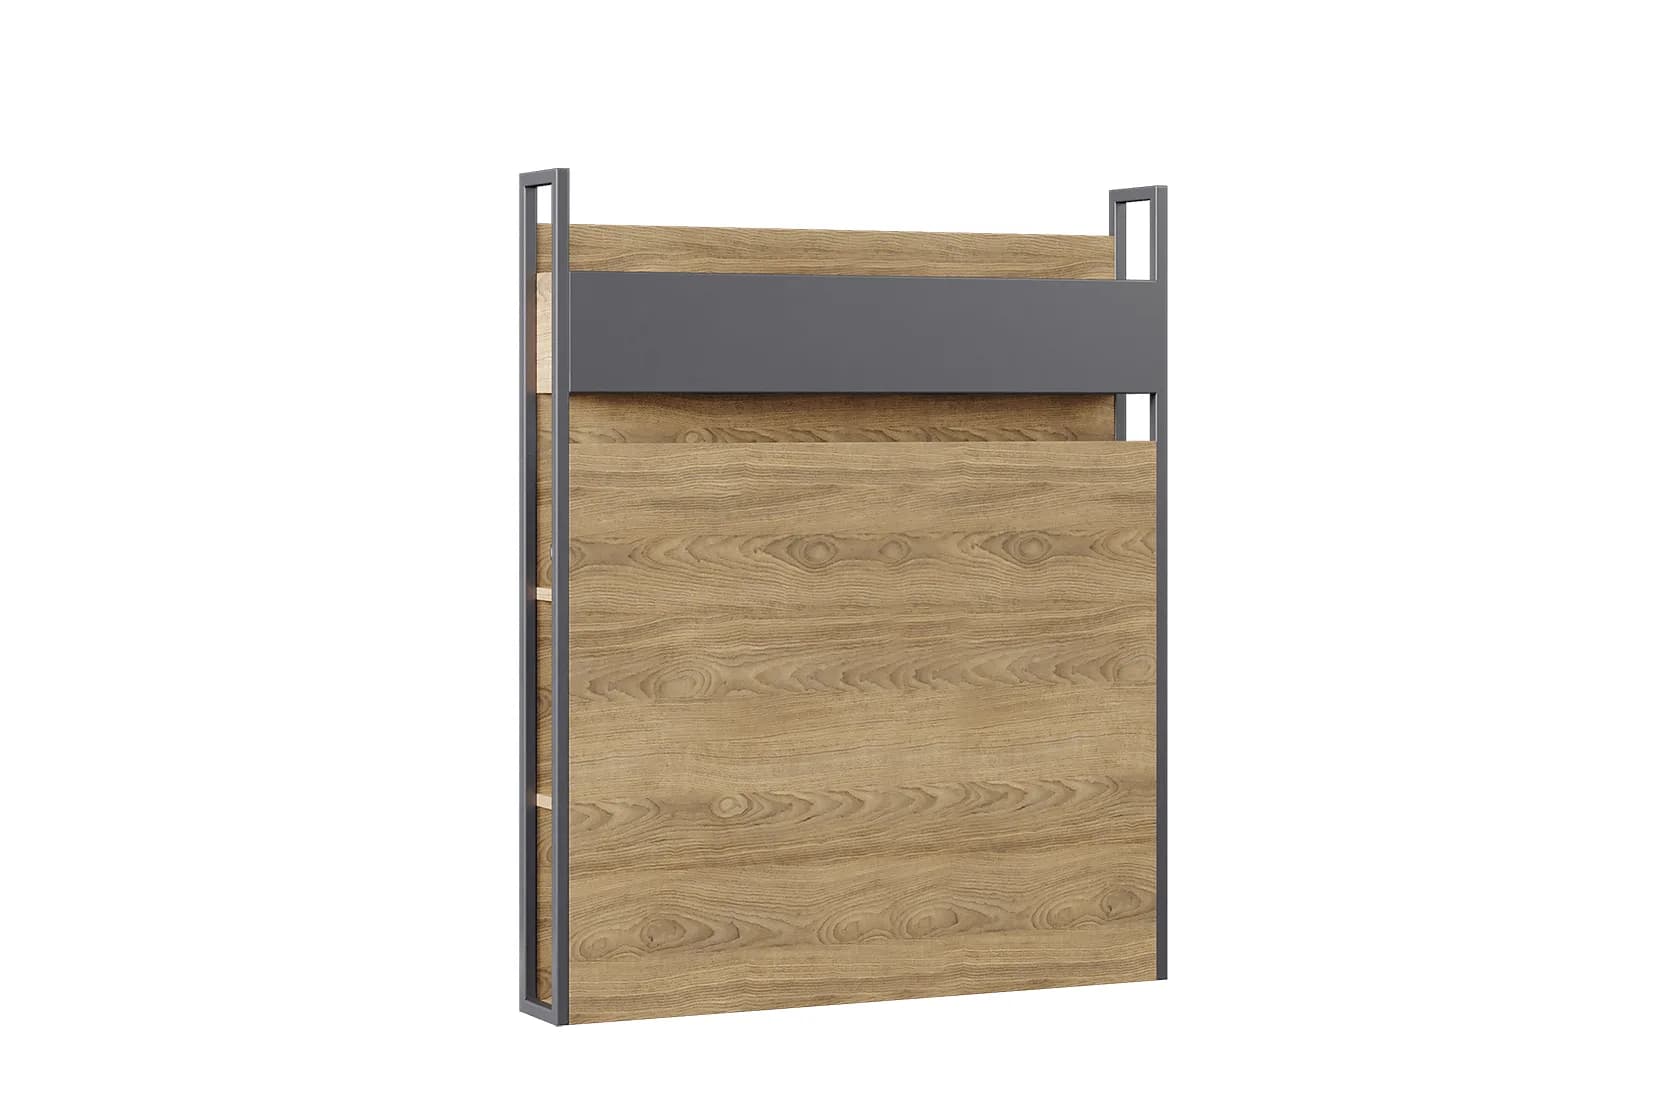
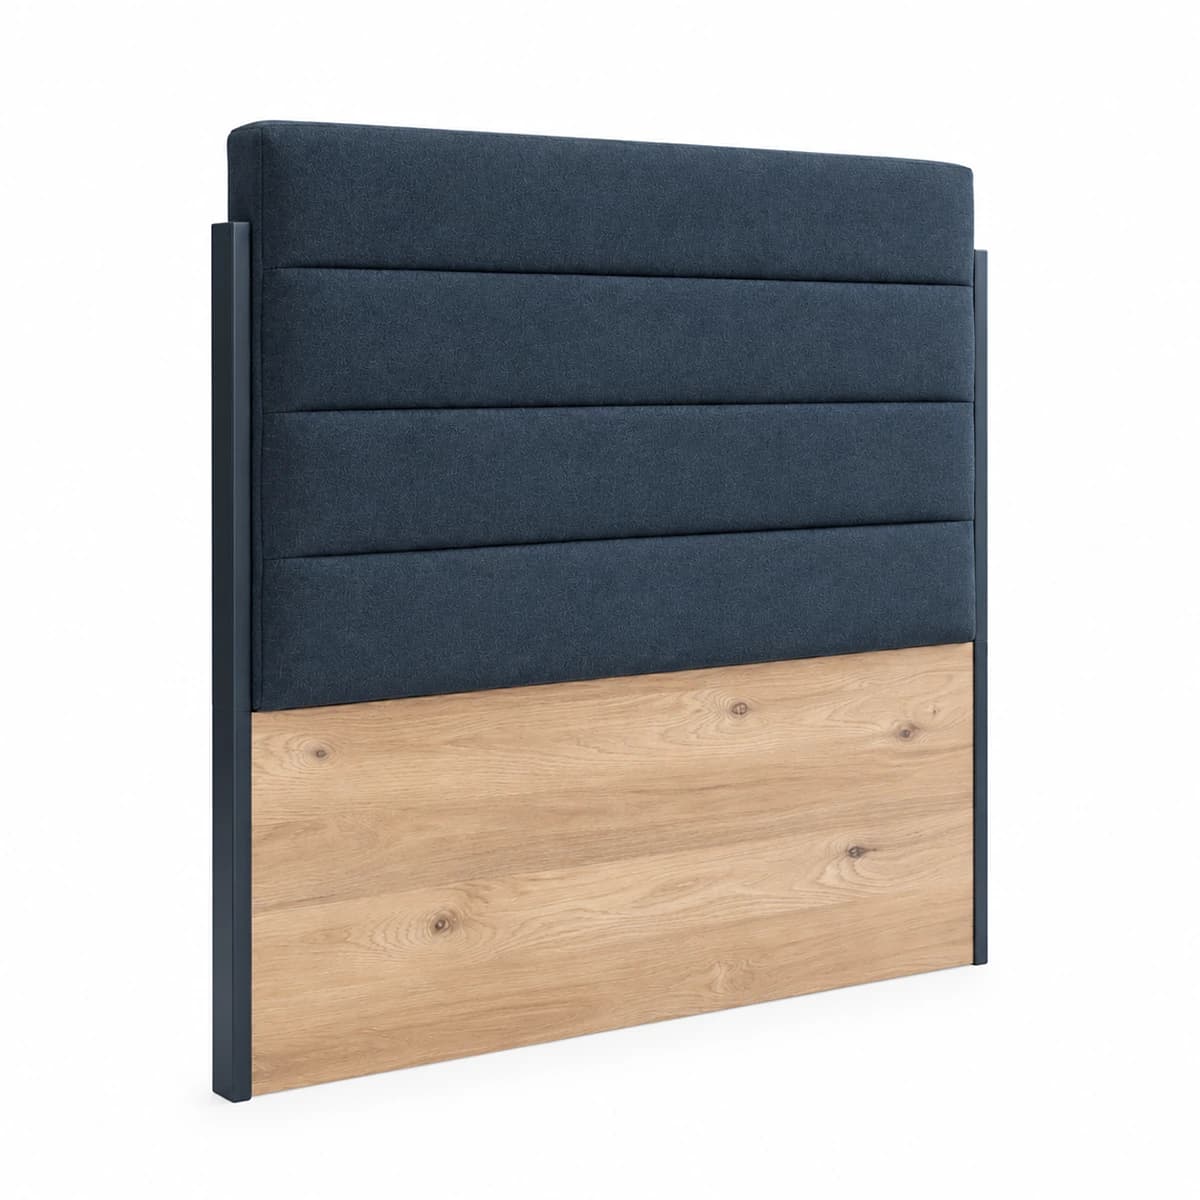
Bed base headboards come in a variety of styles to suit your room’s decor and intended use. Bed base headboards are made from materials such as wood, fabric and leather, each creating a different atmosphere. When choosing a headboard, it’s important to make sure it complements your room’s color palette and existing furniture. Single bed base headboards are generally 90 cm wide, making them an ideal choice for small bedrooms. In children’s rooms, brighter colors and playful designs can make children’s personal spaces more enjoyable.
The height and width of the headboard should also suit the dimensions of the bedroom. The right choice makes a big difference to both visual appeal and comfort.

How to Attach a Bed Base Headboard
Buying a new bed base headboard also means installing it correctly. First, prepare the necessary materials. Here’s how to attach a bed base headboard, step by step:
Materials Needed to Attach a Bed Base Headboard
Screws and Nuts: Used to secure the headboard. They are usually included with the headboard, but if any are missing, make sure to get the appropriate sizes.
Screwdriver: Used to tighten and loosen screws. An electric screwdriver can speed up the process.
Drill: If the bed base headboard doesn’t have holes, you may need to drill holes to connect it to the base. A hammer drill is ideal for this task.
Marking Pencil: Used to mark where the headboard will be positioned.
Spirit Level: Used to make sure the headboard is installed straight.
Protective Gloves: Recommended to protect your hands during the process.
Steps for Attaching a Bed Base Headboard
Preparation
First, carefully remove your new bed base headboard from its packaging. Take care during this step to avoid damaging it.
Aligning with the Bed and Base
Position the headboard behind the bed. Hold it upright and align it with the bed. Make sure the headboard is level with the bed.
Marking
Use a marking pencil to mark the connection points between the headboard and the base on the lower part of the headboard. These are where the screws will go.
Drilling Holes
If the bed base headboard doesn’t have holes, drill them at the points you marked. Make sure the holes are wide enough for the screws and nuts.
Installation
Position the headboard behind the base. Insert the appropriate screws into the holes you drilled in the headboard and base. Tighten the screws using a screwdriver or electric screwdriver. Make sure the headboard is secured firmly.
Check
Finally, check that the headboard is positioned correctly. It’s a good idea to use a spirit level to make sure it is straight. Once you’re sure everything is in place, you can finish the installation.

How to Attach a Sliding Bed Base Headboard?
Sliding bed base headboards add style to the bedroom and serve as a complementary part of the bed. First, carefully inspect the headboard and base. The sliding system allows the headboard to fit easily into the slots at the back of the base. Before attaching the headboard, make sure these slots are clean and properly positioned. Then carefully remove the headboard’s protective packaging and place it onto the base using both hands. Align the headboard with the slots at the back of the base and slide it down into place. Gently check that the headboard is fully seated. Some headboard models may include extra screws. If so, you can use a screwdriver to secure the headboard firmly to the base. Finally, check that the headboard is firmly and evenly in place. Follow these steps to install the sliding headboard securely and get it ready for use.

How to Remove a Bed Base Headboard
Removing a bed base headboard is just as important as installing it. First, prepare the necessary tools, such as a screwdriver, drill and marking pencil, just as you would when attaching a headboard. Then you can move on to the steps for removing the bed base headboard. Here’s how:
Preparation
Before removing the bed base headboard, clear the area around the bed and base. This will make the process easier.
Opening the Base
Open the base before removing the headboard. This will give you access to its back.
Loosening the Screws
The bed base headboard is usually secured with screws and nuts. Carefully loosen the screws at the back of the headboard using a screwdriver or electric screwdriver.
Removing the Headboard
Once you’ve fully removed the screws, carefully lift the headboard out of place. Handle it gently to avoid damaging it.
Check
Once the headboard has been removed, check for any screws or nuts left at the back of the base. You can use these parts if you’re installing a new headboard.
Cleaning
After removing the headboard, it’s a good idea to clean the area where it was attached and the back of the base. This will help you position the new headboard more easily.
What to Keep in Mind When Attaching and Removing a Bed Base Headboard
There are a few important things to keep in mind when attaching and removing a bed base headboard. These help ensure the process is carried out safely and effectively, while preventing damage to the headboard and bed. Here’s what to bear in mind:

What to Keep in Mind When Attaching a Bed Base Headboard
Choosing the Right Materials and Tools
It’s important to use the right materials and tools when attaching a bed base headboard. Make sure that tools such as screwdrivers, drills and screws are the right type and quality. Using the wrong tools can prevent the headboard from being installed properly.
Positioning the Headboard Correctly
The bed base headboard should be positioned correctly behind the bed. Aligning it with the bed is essential for both appearance and functionality. Incorrect alignment can cause the headboard to shift or fall.
Tightening the Screws
The screws must be tightened securely when installing the bed base headboard. Loose screws can cause the headboard to shift or fall over time. For this reason, it’s important to check the screws after installation.
Working with Two People
For particularly heavy or large headboards, working with another person makes installation easier. One person can hold the headboard while the other tightens the screws, making the process safer.
What to Keep in Mind When Removing a Bed Base Headboard
Handle with Care
Handle the headboard gently while removing it. Otherwise, the headboard or base could be damaged. Be careful when loosening the screws and lift the headboard out of place gently.
Checking the Screws
Remember to loosen the screws before removing the headboard. Do not remove it until all the screws are fully loosened. This ensures the headboard can be removed properly.
Cleaning and Care
After removing the headboard, it’s a good idea to clean the area where it was attached and the back of the base. This will help you position the new headboard more easily and is important for overall hygiene.
Keeping Track of the Screws
It’s a good idea to keep the screws in a box while removing the headboard so you don’t lose them. This ensures you’ll have all the screws you need when installing a new headboard.
Keeping these points in mind can minimize issues when attaching or removing a bed base headboard and help the process go more smoothly. With the right approach, you can extend the life of your headboard and preserve the look of your bedroom.

What Is a Bed Retainer and How Do You Install One?
A bed retainer is a part used to prevent the mattress from sliding on the bed base. Usually made of metal or plastic, these retainers keep the mattress in place for a comfortable night’s sleep. They’re especially useful for anyone whose mattress tends to slide as it moves. Bed retainers sit in the gap between the mattress and the base, preventing the mattress from shifting.
Installing a bed retainer is simple. First, decide where to position the retainers along the edges of the base. They are usually placed near the headboard. The retainer is designed to fit along the edge of the base. Once you’ve aligned it correctly, insert a screw into the screw hole on screw-in models and tighten it with a screwdriver to secure it. If you’re using a screw-free retainer, simply wedge it onto the edges of the base. Give the installed retainer a gentle tug to check that it is secure. Once fitted, the retainers prevent the mattress from moving and keep it in place on the bed base.
You May Also Like→ What Is a Bed Base? Everything You Need to Know About Bed Bases